REVIEW · BARCELONA
Photo Walking Tour Sitges Experience Beaches and Town
Book on Viator →Bookable on Viator
Great photos start with better prompts. This 2-hour Sitges walk turns familiar spots into photo assignments you can actually use on your next trip.
I love the small group pace (max 6) and the way the guide works with what you’re carrying—phone or camera—so you get hands-on direction fast. I also like that the route hits a mix of Sitges classics, from Hotel Noucentista to the beach at Sant Sebastià, with quick stops that don’t waste daylight.
One thing to weigh: you’ll want good weather, and you also need to bring your own device, since no equipment is provided.
In This Review
- Key highlights you’ll feel right away
- Why Sitges Looks Better Through a Lens (Not a Checklist)
- Price and what you actually get for $60.33
- Who this tour fits best (and who might prefer something else)
- Meeting point to sunset finish: your route in real walking terms
- Stop 1: Hotel Noucentista (architecture you can frame)
- Stop 2: Statues of Santiago Rusinol and Ramon Casas (composition with figures)
- Stop 3: La Chica de la Malvasia, Sitges (the iconic statue + view)
- Stop 4: La Sirena de Sitges (front-row waterfront photography)
- Stop 5: Church of Sant Bartomeu & Santa Tecla (angles that keep paying off)
- Stop 6: Correló de la Rectorìa (the mysterious stop that teaches attention)
- Stop 7: Palau de Maricel (capture the details while you have time)
- Stop 8: Platja de Sant Sebastià (beach life and real color)
- The guides: what I’d watch for in your own tour experience
- Bring your own device: phone, camera, and how to prepare
- Practical value: why the route feels efficient
- Who should book (my quick decision guide)
- FAQ
- FAQ
- Do I need to bring a camera or phone?
- How long is the Sitges photo walking tour?
- What does the tour include?
- Is the tour available in English?
- How many people are in the group?
- Where does the tour start and end?
- What if the weather is bad?
- Can I cancel for a refund?
Key highlights you’ll feel right away
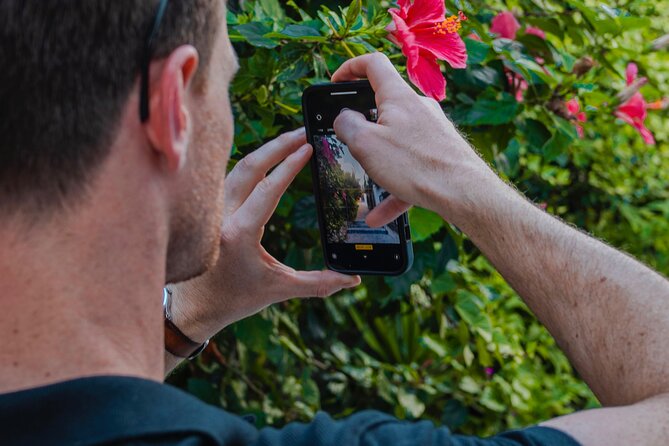
- Camera and phone coaching so you can shoot with intention, not luck
- Max 6 people, meaning you can actually get your questions answered
- Architecture first at Hotel Noucentista, with practical framing ideas
- Statues + composition practice at multiple icon spots across town
- Sunset-beach finish near San Sebastián Beach for a natural ending point
- English small-group guide options, including standout guiding from Leonardo and Charlotte
Why Sitges Looks Better Through a Lens (Not a Checklist)
Sitges is the kind of coastal town where it’s easy to snap photos… and even easier to end up with the same image twice: a pretty building, a pretty sea, and everyone looking at the camera. This tour nudges you past that.
What makes it work is the rhythm. You move through town in short segments and each stop comes with a simple photography goal. Instead of staring at sights and hoping for a moment, you learn how to compose—with architecture lines, statue shapes, and the beach scene in front of you.
I also like the tone. The guidance isn’t just technical talk. It’s about seeing better. That’s the real upgrade, because once you learn the thinking, you can apply it anywhere in Sitges.
You can also read our reviews of more walking tours in Barcelona


Price and what you actually get for $60.33
At $60.33 per person for about 2 hours, this sits in the “reasonable splurge” category—especially because it’s not a huge group tour where you disappear into the crowd. For me, the value comes from two parts:
First, you get individual tips and guidance on improving your images. That’s the difference between collecting photos and learning how to make better ones.
Second, the tour is packed with recognizable Sitges landmarks—so you’re not paying for wandering. You’re paying for focused prompts at each stop: one for framing buildings, another for statue composition, another for church angles, and one for beach-life shots.
You should also know it’s offered in English and uses a mobile ticket, so it’s easy to manage on the day.
Who this tour fits best (and who might prefer something else)
You’ll probably love this tour if you:
- travel with a smartphone or camera and want more than basic sightseeing
- like a structured route but still want time for your own shots
- enjoy art and architecture, even if you’re not a photography expert
- want a compact way to experience Sitges without spending the whole day
You might want to consider a different option if:
- you want a deep, slow historical tour with long explanations (this is a photo walk with short stops)
- you’re hoping someone provides camera gear (they don’t)
- weather matters a lot to your travel style, because this experience requires good weather
The group size helps here. With a maximum of 6, it doesn’t feel like being photographed by your guide’s crowd control skills. It feels more like a guided photo walk with room to breathe.
Meeting point to sunset finish: your route in real walking terms
The tour starts at Oficina de Turisme Sitges, Plaça Eduard Maristany, 2 and ends at Av. Balmins, 3. The finish is at a famous sunset spot next to San Sebastián Beach.
That ending matters. You get a natural place to wrap up your new skills with the light and the waterfront vibe, instead of rushing off right after the last landmark.
Also, it’s near public transportation, which helps if you’re already moving around the wider Barcelona-area schedule.
Stop 1: Hotel Noucentista (architecture you can frame)
This is your warm-up stop, and it’s a smart one. Hotel Noucentista is visually dramatic, with angles and details that reward careful viewing. You’ll get creative ways to capture the building, so it’s not just a full-building photo.
What to do here: Pay attention to lines—edges, balconies, and repeating patterns. The goal is to turn a big subject into something you can control in your frame.
Why it’s worth it: Architecture is one of the fastest ways to improve your composition because it gives you strong shapes to work with. Even in a short 20-minute stop, you can learn something you’ll reuse all day.
Possible drawback: If you’re expecting lots of time to wander the inside of buildings, this stop is about exterior photography. Admission ticket is listed as free, but the time here is still short, so focus on making shots, not searching for extra spots.



Stop 2: Statues of Santiago Rusinol and Ramon Casas (composition with figures)
Next come the statues of Santiago Rusinol and Ramon Casas. Statues are tricky because they can look flat in photos if you aim too casually.
This stop teaches you how to compose images involving statues—so you’re not only recording the statue, you’re creating an image that uses it.
What to do here: Try different angles and distances. The statue plus the background can either blend together or separate cleanly, depending on your framing.
Why it works: It’s a quick 10-minute lesson on making figures look intentional rather than accidental.
Possible drawback: With just 10 minutes, you may want to come ready with a couple of camera modes you like (for example, portrait/people mode on your phone, or whatever works best for your camera setup). The tour focuses on practice, not setup time.
Stop 3: La Chica de la Malvasia, Sitges (the iconic statue + view)
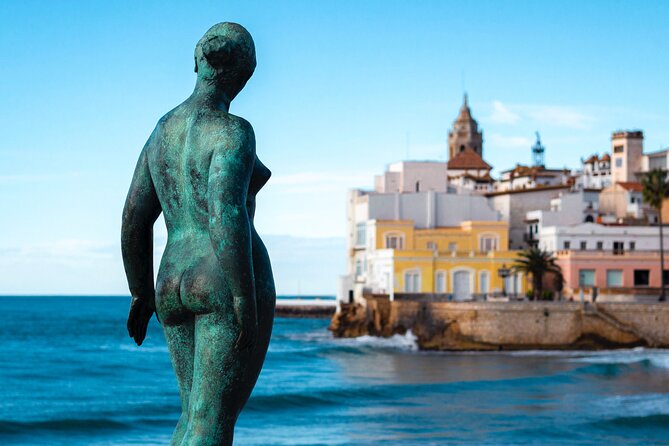
At La Chica de la Malvasia, you get both an iconic statue and a chance to practice making a more interesting composition. There’s also an opportunity to enjoy an amazing view.
What to do here: Don’t only shoot the statue. Include the surroundings in a way that tells your viewer where you are in Sitges.
Why it’s valuable: This is where you start combining subject + setting, which is the difference between a photo that looks nice and one that actually feels like a place.
Possible drawback: If you’re very sensitive to crowding, just know this is a recognizable photo spot. You’ll still get guidance, but the best angles may take a couple tries.
Stop 4: La Sirena de Sitges (front-row waterfront photography)
Then you pass by La Sirena de Sitges, the famous mermaid sculpture by the water front.
This is a good moment to practice how water and public art interact in a frame—where highlights, reflections, and background waves can make shots look either magical or messy.
What to do here: Use the mermaid as your anchor and let the sea create mood, not confusion. If your camera struggles with bright reflections, adjust your angle to manage glare.
Why it’s on the route: It’s fast (10 minutes) but it gives you a different texture than statues and buildings: the moving, bright waterfront.
Possible drawback: Wind and changing light can happen quickly near the water. If your phone is battery-sensitive, keep an eye on your charge.
Stop 5: Church of Sant Bartomeu & Santa Tecla (angles that keep paying off)
Next is the Church of Sant Bartomeu & Santa Tecla. You’ll get endless photogenic spots, and the tour will guide you toward several.
What to do here: Look for perspective lines. Churches often let you capture something dramatic without getting trapped in one single viewpoint.
Why it’s valuable: Religious architecture gives you strong verticals and details that look great in both phone and camera photos. You’re practicing framing and viewpoint again, but with a new style of subject.
Possible drawback: Churches can be visually busy. If you’re not careful, your photo can turn into a cluttered collage. That’s exactly why a guided prompt helps—but it also means you’ll want to slow down and choose what’s in your frame.
Stop 6: Correló de la Rectorìa (the mysterious stop that teaches attention)
This one is called Correló de la Rectorìa, and it’s described as mysterious. Stops like this are where you learn the habit that separates average travel photos from better ones: paying attention to details other people walk past.
What to do here: Look for texture and shape. Try a tighter crop if the full view doesn’t look clean.
Why it matters: Mystery stops make you learn to reduce. You’ll practice selecting a small story from the wider scene.
Possible drawback: Since it’s only about 10 minutes, you may want to bring your phone/camera settings ready and not spend time flipping through apps.
Stop 7: Palau de Maricel (capture the details while you have time)
You’ll pass through Palau de Maricel, with a chance to capture breathtaking details. This stop is perfect if you like ornamentation and surface design—small elements that look best when you’re close enough to notice.
What to do here: Look for repeating patterns, carved sections, and areas where shadow creates contrast.
Why it’s worth the time: Details are where your photos can suddenly look more “designed,” even if you’re using your phone. This 15-minute stop gives you the push to go small.
Possible drawback: If you only shoot wide shots, you may miss what makes the palau special. Keep one wide frame, but also shoot a few detail shots.
Stop 8: Platja de Sant Sebastià (beach life and real color)
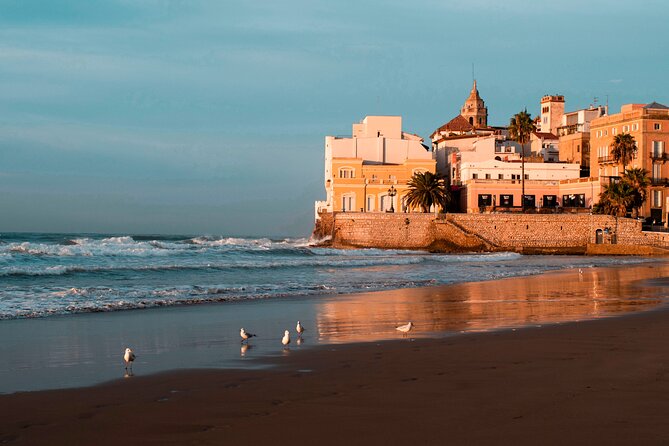
Finally, you walk along Sant Sebastià Beach. This is your chance to capture beach life—what it looks like when people and sea share the same frame.
What to do here: Photograph interactions and movement rather than only empty sand. If you can, time a shot with a clear moment: someone walking, a posture, a casual scene.
Why it’s a smart finish: You end near sunset next to San Sebastián Beach, which means you have a natural light transition and an easy place to wrap up your day’s learning.
Possible drawback: Beach scenes change fast. If you love perfectly posed photos, you’ll need to work with what’s happening instead of forcing it.
The guides: what I’d watch for in your own tour experience
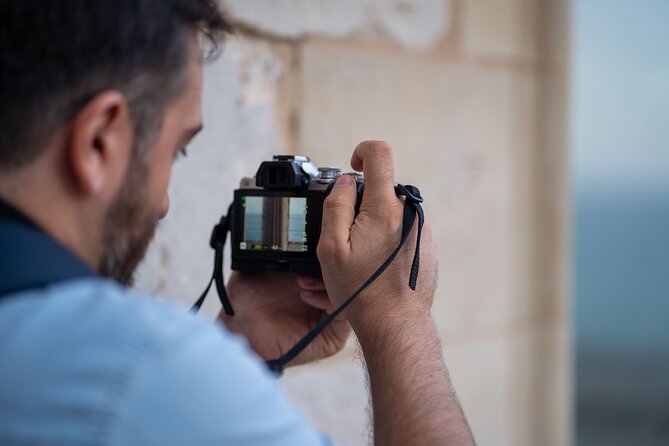
The guides seem to bring two key skills: art/visual context and real communication. For example, Leonardo is praised for being passionate and giving photo tips that go beyond the walk; one person noted he also sent extra information and tips on WhatsApp after the tour. Another guide, Charlotte, is praised for historical knowledge and also for showing how to take unusual, more beautiful photos.
So when you’re with your guide, here’s what I’d do:
- ask for 1 specific fix after your first few shots
- tell them what you’re using (phone vs camera) and what you’re trying to improve
- be ready to switch from auto to a more deliberate approach if your guide suggests it
The best part of a guided photo walk isn’t copying their shots. It’s learning the thinking behind them.
Bring your own device: phone, camera, and how to prepare
The tour is clear: you bring your own camera or mobile phone. No equipment is provided.
That’s normal, but it changes how you should prepare. Before you meet up:
- make sure your device is charged (especially if you’ll shoot a lot at the beach)
- clean your lens if it’s even slightly smudged
- bring a spare charging option if you have one
- know where you save photos so you don’t accidentally delete good shots
If you’re using a phone, you’ll still get real coaching. In fact, the tour is often valuable for phone users because it helps you see what your camera can do without forcing it into settings you don’t understand.
Practical value: why the route feels efficient
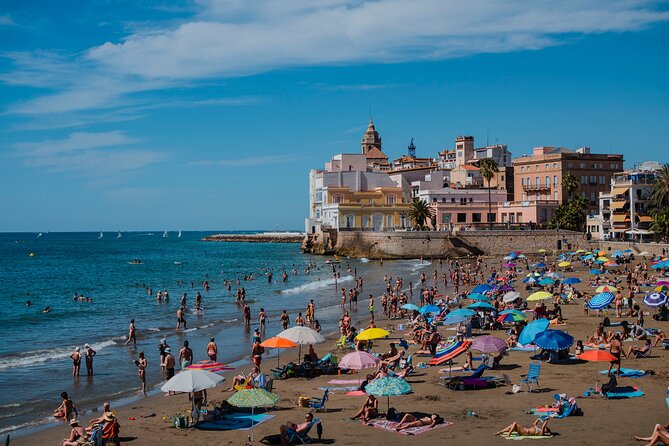
This is a 2-hour walk, but it doesn’t feel like a speedrun. It works because each stop is short and specific: architecture, statues, a view, waterfront sculpture, a church, a mysterious corner, a palau detail stop, then beach life.
The small group size is a huge part of that efficiency. With max 6, you’re not stuck waiting for ten minutes while your guide handles someone else’s questions.
And because the tour ends at a sunset spot next to Sant Sebastià/San Sebastián Beach, you’re not scrambling for a finale. You already know where to go for light and photos.
Who should book (my quick decision guide)
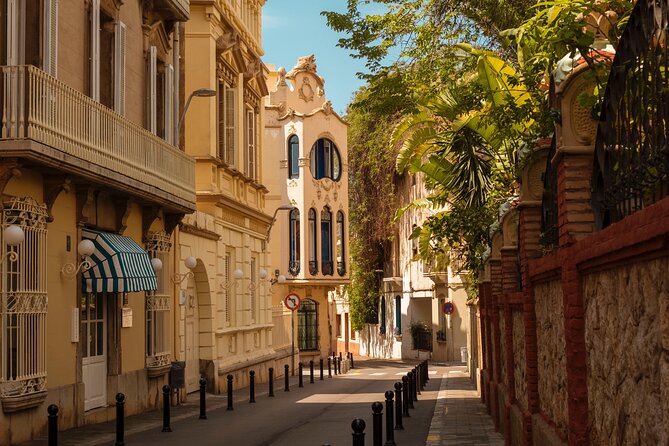
Book it if you want a tight, practical way to improve your photos in Sitges. It’s a good fit for couples, solo travelers, and small groups who like landmarks but also want guidance on making pictures that look more intentional than accidental.
Skip it if your travel plan is based on slow wandering, long museum-style time, or if you don’t want to bring a camera/phone at all.
If you’re debating, I’d make the choice based on one question: do you want to learn a repeatable way of seeing? If yes, this tour is a solid use of a couple hours.
FAQ
FAQ
Do I need to bring a camera or phone?
Yes. You’ll need to bring your own camera or mobile phone. The tour does not provide equipment.
How long is the Sitges photo walking tour?
It lasts about 2 hours (approx.).
What does the tour include?
The tour includes individual tips and guidance to help you improve your images.
Is the tour available in English?
Yes, it is offered in English.
How many people are in the group?
The experience has a maximum of 6 travelers.
Where does the tour start and end?
It starts at Oficina de Turisme Sitges, Plaça Eduard Maristany, 2, and ends at Av. Balmins, 3. The walk finishes at a famous sunset spot next to San Sebastián Beach.
What if the weather is bad?
This experience requires good weather. If it’s canceled due to poor weather, you’ll be offered a different date or a full refund.
Can I cancel for a refund?
Yes. You can cancel up to 24 hours in advance for a full refund.
If you want, tell me your travel month and whether you’ll shoot with a phone or a specific camera model—I can suggest a simple game plan for getting the most out of each stop.